When my apartment oven started running cold a couple of winters ago, I pulled the BLACK+DECKER TO1760SS out of the cabinet and decided to test whether I could actually bake with it. Not just toast and reheat, but bake. Muffins. Cookies. A small loaf of banana bread. The first attempt was a disaster: burnt edges, raw center, and a kitchen that smelled like a misunderstanding. But I kept at it, and now I bake with the TO1760SS almost every weekend. The apartment oven mostly sits cold.
The problem most people run into is treating a compact toaster oven exactly like a full-size oven. It is not the same appliance. The heating elements are closer to your food. The interior is smaller, so heat bounces differently. The thermostat is less precise. None of those things are dealbreakers, but each one requires a small adjustment. Get the adjustments right and you will get consistent results. Skip them and you will keep pulling out batches with burnt bottoms and pale tops.
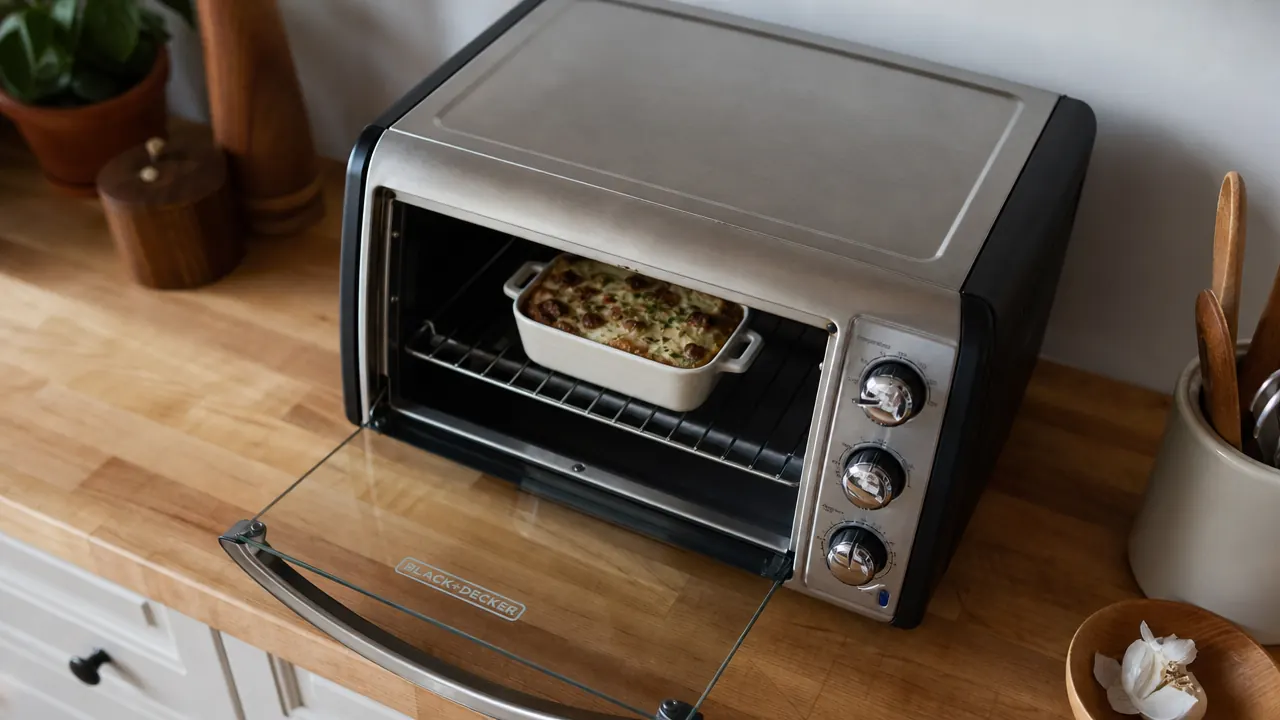
The TO1760SS is the oven I use for every bake in this guide
It holds four slices, fits a 9x9 baking pan, and the natural convection setting is what makes the techniques below work. Check today's price on Amazon before you read the steps, so you know exactly what you are working with.
Amazon Check Today's Price on Amazon →Step 1: Preheat for Longer Than the Manual Suggests
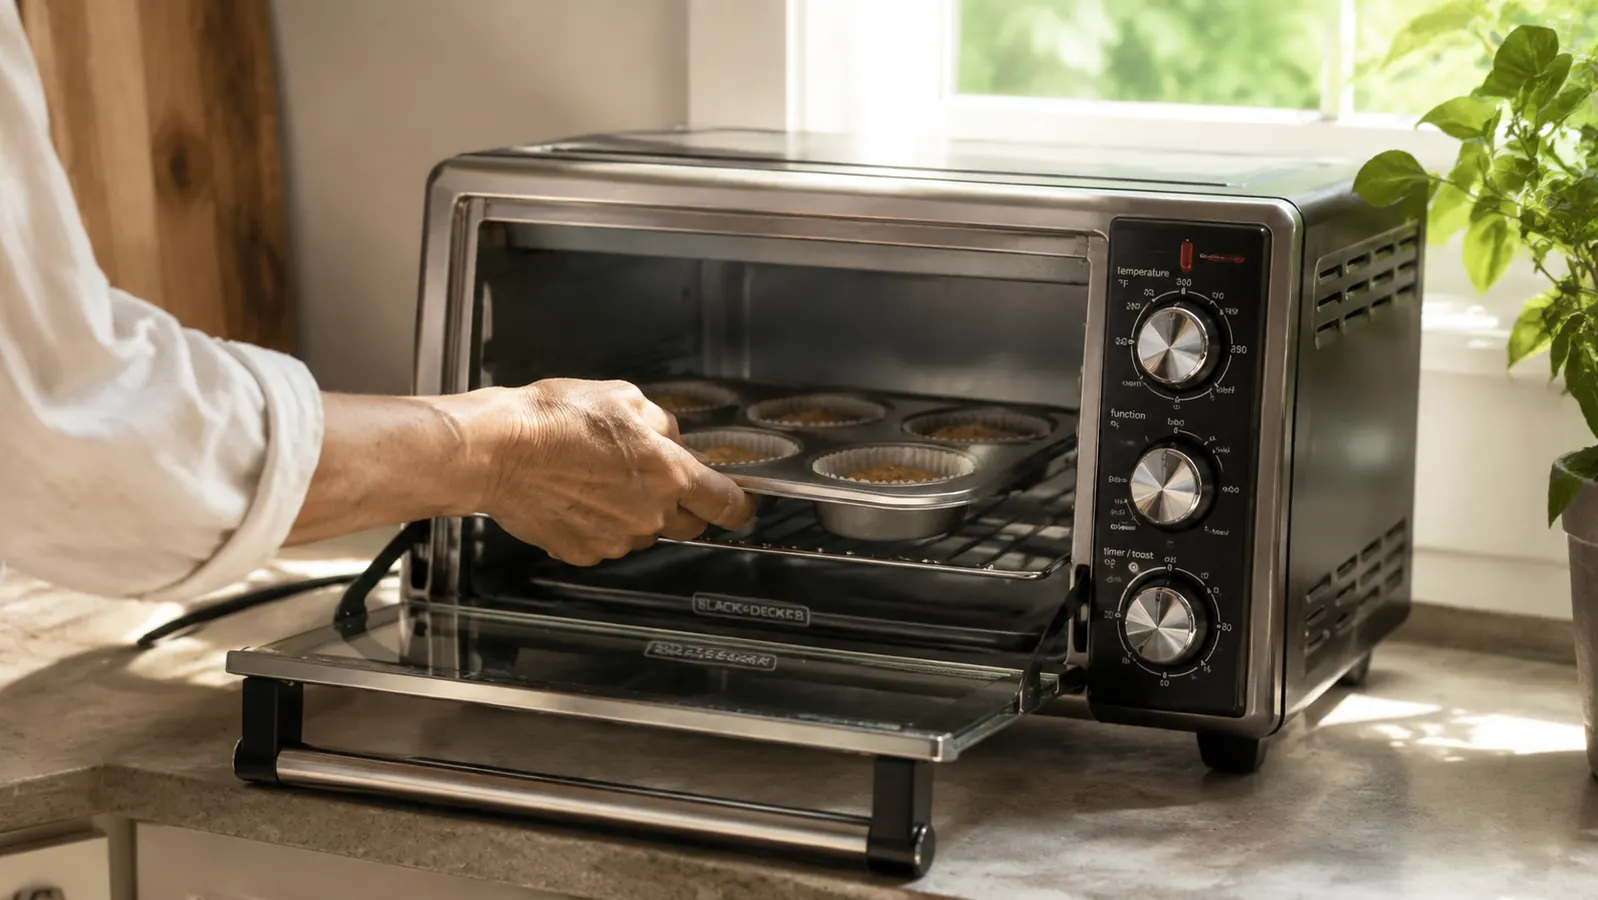
The TO1760SS manual says to preheat until the indicator light goes out, which takes about six minutes. That is not long enough for baking. Full-size ovens retain heat in thick walls and a heavy door; a compact toaster oven loses heat fast once you open it to slide in a pan. I give the TO1760SS a full ten to twelve minutes before any baked item goes in. On a cold morning in my kitchen, I sometimes push to fifteen.
The other thing to know: the indicator light cycling off does not mean the oven has stabilized at temperature. It means the element has shut off because the thermostat registered its target. The actual air temperature inside is still equalizing. Giving the oven an extra four or five minutes after the light goes out means the baking surface of your pan is closer to the real temperature when the food first touches it. That matters for items that set their structure in the first three minutes, like muffins and cookies.
Practical tip: I set a kitchen timer for ten minutes when I turn the oven on, then start measuring and mixing ingredients. By the time I am ready to pour batter, the oven is genuinely hot.
Step 2: Dial the Temperature Down by 25 Degrees
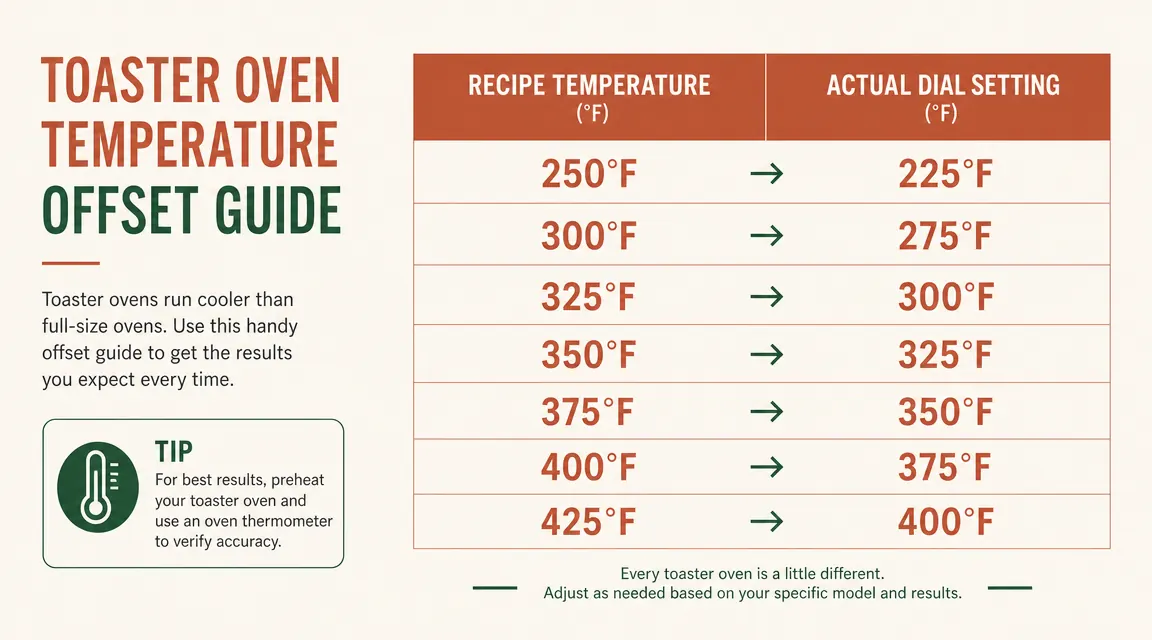
This is the single adjustment that fixed most of my early failures. Compact toaster ovens run hotter than their dials suggest, and the heating elements are physically closer to your food than they are in a full-size oven. A recipe that calls for 350 degrees Fahrenheit was written for a full-size oven with elements eight or ten inches away from the rack. In the TO1760SS, the top element is about four inches from the center rack.
My reliable offset: subtract 25 degrees from whatever the recipe says. If the recipe says 375, I dial to 350. If it says 350, I dial to 325. For anything delicate, like a custard or a cheesecake, I subtract 30 degrees and add a few minutes to the bake time instead. This keeps the surface from setting too fast before the interior catches up.
The TO1760SS does not have a digital display, so you are working with a dial with degree markings. It is not perfectly precise, but it is consistent enough that once you find your offset it holds from bake to bake. I have a small oven thermometer I picked up for a few dollars that sits on the center rack. I use it to spot-check whenever I notice results drifting. That is probably the most useful five dollars I have spent on baking equipment.
The natural convection feature on the TO1760SS also contributes heat here. Convection circulates air and can cook up to 25 percent faster than a still oven. I leave convection on for cookies, roasted vegetables, and anything with a crust I want crisp. I turn it off for muffins, quick breads, and anything with a batter top that could crack from the moving air.
Step 3: Use the Right Pan in the Right Position
Pan choice matters more in a compact toaster oven than in a full-size oven, for two reasons. First, the pan takes up a larger proportion of the interior, which affects airflow. Second, dark pans absorb radiant heat from the nearby elements faster than light pans. In a full-size oven that difference is manageable. In a toaster oven it can mean the difference between a nicely browned bottom and a burnt one.
I use light-colored aluminum or stainless pans for baking in the TO1760SS. If I am using a dark nonstick pan, I line it with parchment paper and subtract an extra five degrees from my temperature. I also keep pans at least half an inch away from the sides of the oven to let air circulate. The TO1760SS interior is roughly 12 inches wide, so a standard 9x9 pan fits with room on each side.
Rack position: the center rack is where almost all baking should happen. The top position gets you too close to the upper element and brown tops. The bottom position gets you too close to the lower element and charred bottoms. I use the center rack for muffins, cookies, brownies, and quick breads. I only move to the top position for broiling, which is a different conversation entirely.
One more note on pans: avoid glass or ceramic baking dishes if you can. They take longer to come up to temperature than metal, which throws off the preheat timing. They also hold heat unevenly in a small oven. I keep a small metal loaf pan and a quarter-sheet aluminum pan as my two main toaster-oven baking vessels. Both fit the TO1760SS comfortably and both give me predictable results.
Step 4: Rotate Halfway Through Every Bake
The heating elements in the TO1760SS are not perfectly even across the width of the oven. The rear of the oven tends to run slightly hotter than the front, which is typical of this oven class. The result without rotation is predictable: items at the back of the pan brown faster than items at the front. On a tray of twelve cookies that means six are perfect and six are pale.
The fix is a 180-degree rotation at the halfway point of the bake. If cookies take twelve minutes, I open the door at six minutes, rotate the pan front to back, and close the door quickly. The whole operation takes about ten seconds. I also check for color while the door is open, which gives me a chance to catch a batch that is moving faster than expected.
For taller items like muffins or a loaf of quick bread, I do the same rotation but I am more careful about opening the door gently to avoid a temperature drop that could cause the item to sink. The rotation is worth it. I have baked twelve-count batches of muffins in the TO1760SS and had them come out within a shade of each other across the whole tin. That only happens because of the rotation.
The rear of the oven is slightly hotter than the front. Rotate every pan at the halfway point and you fix that in ten seconds.
Step 5: Check for Doneness Earlier Than the Recipe Says
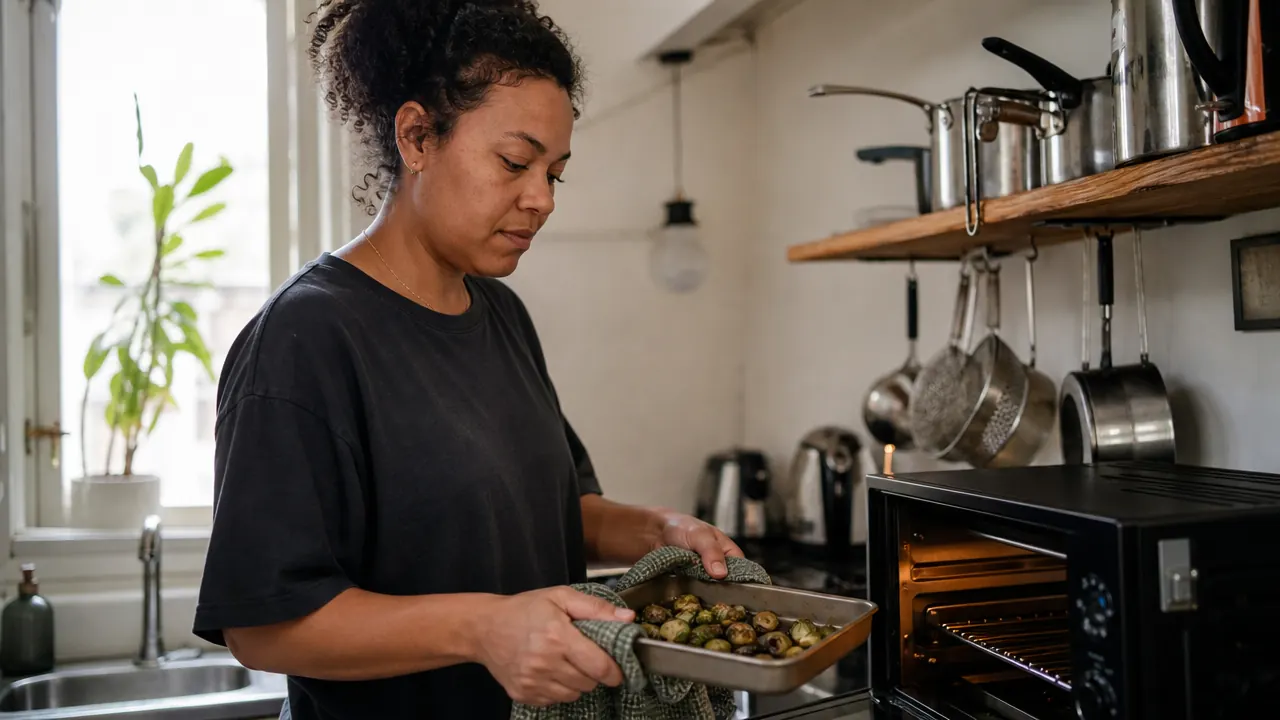
Between the lower temperature setting and the convection airflow, bake times in the TO1760SS rarely match a recipe written for a full-size oven. Generally things finish a little faster, but the exact amount varies with the item. I have baked banana bread that took the same time as my full-size oven and I have baked muffins that finished four minutes early.
My rule is to start checking at the two-thirds mark of whatever the recipe says. If the recipe says eighteen minutes, I check at twelve. If it says thirty minutes, I check at twenty. I use a toothpick or skewer for anything with a batter center. For cookies, I look at the edges: they should be set and just lightly golden. The center of the cookie will still look soft at the right pull time, and it will firm up during the two minutes of carryover heat after you take it out.
A quick note on the timer knob on the TO1760SS: it is a mechanical dial, not digital, and it loses accuracy below five minutes. For short bakes I set the knob to fifteen minutes and use my phone timer for the actual countdown. That way the oven stays on without me relying on the mechanical timer to cut it off at the right moment.
After the bake, I leave items in the oven with the door cracked open for one to two minutes before pulling them out. The residual heat gives a little extra set to the crust and keeps the interior from getting gummy when it hits the cooler air. It is a small thing, but it is one of those finishing details that adds up.
What Else Helps
Parchment paper is the most underused tool in toaster-oven baking. It protects the bottom of whatever you are baking from direct radiant heat off the lower element, it makes cleanup easy, and it keeps delicate items from sticking even when a dark pan is running hot. I cut parchment to fit the pan rather than draping it over the edges, because overhanging parchment in a small oven can curl up and touch the elements.
A small cooling rack is also worth keeping nearby. Leaving hot items sitting in the pan on the counter traps steam and can soften the bottom crust you just worked to create. Two minutes on a wire rack and the bottom stays firm.
If you find the TOP of your item browning faster than the bottom is cooking through, you can tent it loosely with a small piece of foil. Just lay it over the top of the pan without crimping it to the edges, so steam can still escape. That slows the top browning and gives the middle time to catch up.
For a deeper look at how the TO1760SS performs across fourteen months of daily use, including its heat consistency across different cooking tasks, the long-term review covers a lot more ground. And if you are deciding between the TO1760SS and a higher-priced alternative, the BLACK+DECKER vs Breville comparison lays out exactly where the price difference does and does not show up in the cooking.
Ready to put these steps to work? The TO1760SS fits any small kitchen counter
With 4-slice capacity, natural convection, and a stainless exterior that wipes clean, it is the compact oven that earns its counter space. Check today's price before you go.
Amazon Check Today's Price on Amazon →