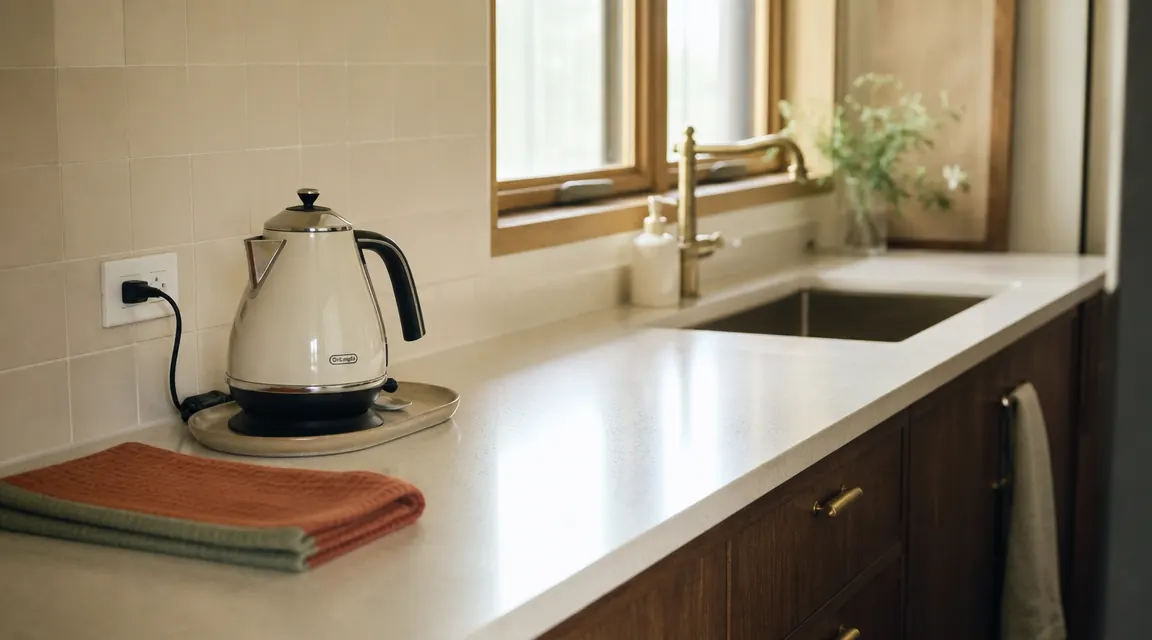
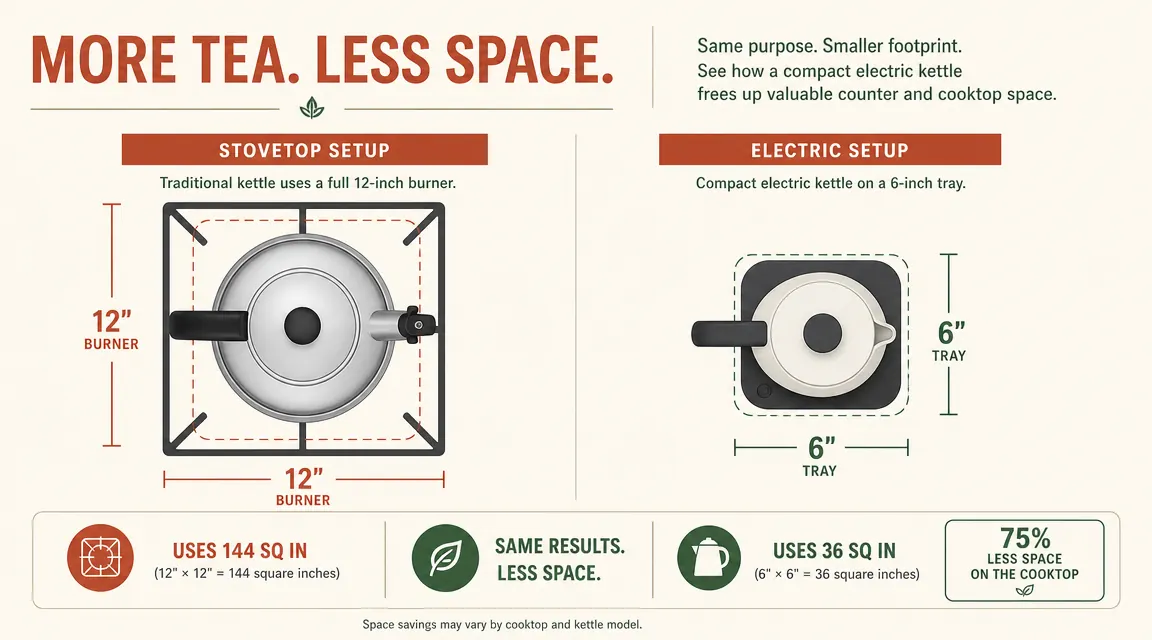
My galley kitchen is eleven feet long and four feet wide. Both sides have upper cabinets, which sounds generous until you realize that the overhead clearance on the narrow counters below is basically one appliance tall. For a long time I kept a stovetop kettle parked on the back burner because I used it every morning for tea and every afternoon for instant broth. Seemed efficient. The problem was that the kettle lived on a burner, which meant that burner was unavailable any time I was doing something else on the stove. Move the kettle to the counter and it took up a full twelve-inch square that I desperately needed for prep space. Neither situation worked.
Switching to an electric kettle fixed the stovetop problem. But I still had to think through where to put the thing, how to handle the cord, and whether it could absorb tasks I was splitting across two or three other appliances. It took me a few weeks of tinkering to land on a setup I liked. If you are in a similar situation, this guide will walk you through each step so you can get there faster.
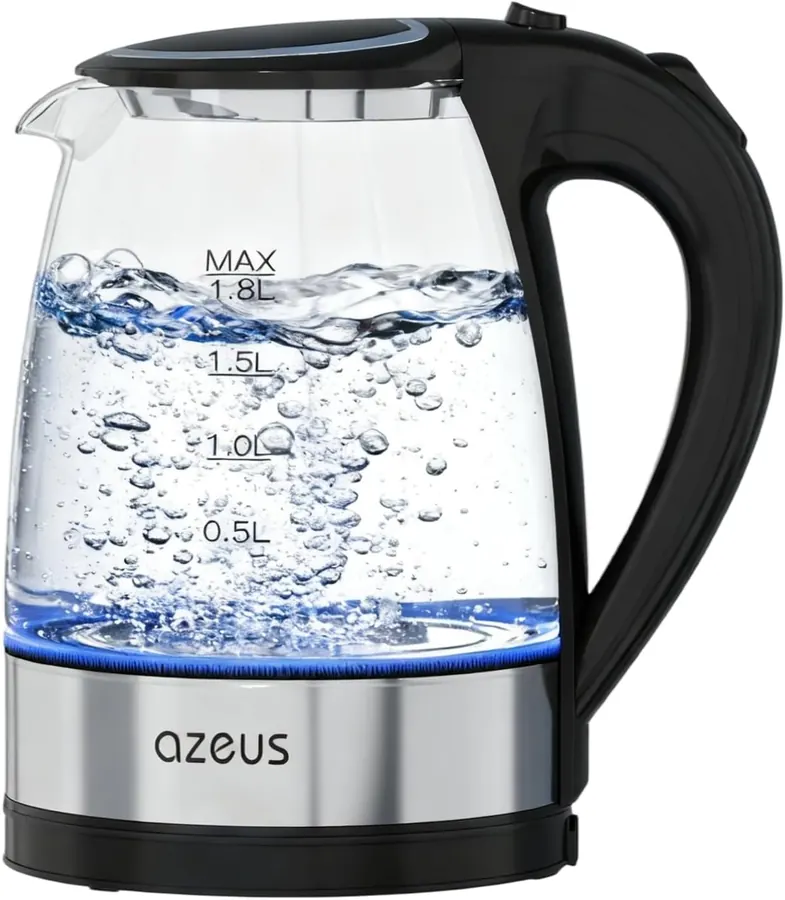
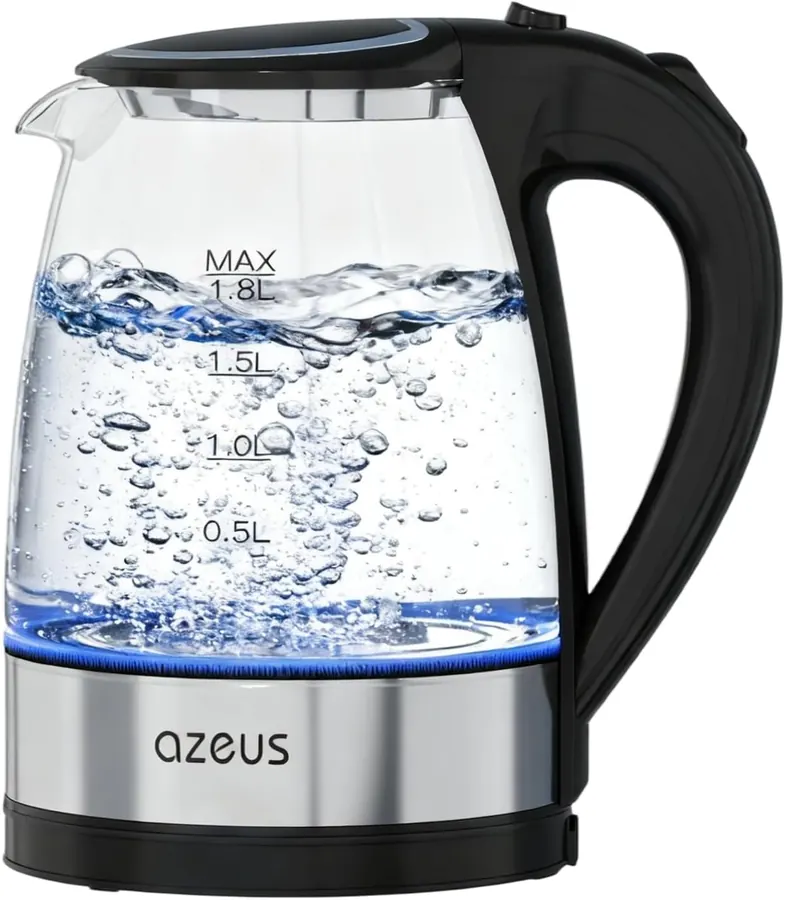
Need a kettle that fits tight quarters without asking for much space? The AZEUS 1500W is the one Sandra keeps on her counter.
At 1.8 liters, it handles everything from a single mug to a full pot of tea. The 360-degree swivel base and wrapped-cord base keep it from sprawling across the counter.
Amazon Check Today's Price on Amazon →Step 1: Measure What You Actually Have Before You Buy Anything
Before you bring a new appliance into a small kitchen, measure the specific spot where it will live. Not the whole counter. The exact spot. Electric kettles vary more in footprint than you might think. The AZEUS 1500W, for example, has a base plate that measures roughly 6.5 inches in diameter, which is meaningfully smaller than some kettles in the same price range that spread to 8 or 9 inches. That two-inch difference matters when you are working with eleven feet total.
Also measure the height clearance if you have upper cabinets. The AZEUS stands about 9.5 inches tall with the lid closed. If your upper cabinet is mounted low, you may need to pull the kettle slightly forward on the counter to open the lid without catching it on the cabinet shelf above. Figure this out before the appliance arrives, not the morning you try to fill it.
One more measurement worth taking: your nearest outlet. Electric kettles need to sit within cord range of a plug. The AZEUS cord is about 27 inches. If your only outlet is at the far end of the counter, plan accordingly or pick up a short power strip to extend your reach. A cord that has to stretch at a diagonal across the counter is a hazard and an eyesore.
Step 2: Remove the Stovetop Kettle (and the Saucepan You Were Using Instead)
If you currently boil water on the stove, you are almost certainly using either a stovetop kettle or a saucepan. Both of those items can now do other jobs. The stovetop kettle, if you have one, can go to a donation box or into cabinet storage you were not using. Freeing up a burner for actual cooking is the most immediate gain from this whole exercise.
The saucepan is a different story. You probably use it for things other than boiling water. Soups, pasta, blanching vegetables. It stays. But once you have a dedicated electric kettle, you stop reaching for the saucepan every time you want hot water for tea or instant oatmeal. Those small daily uses add up to a lot of unnecessary stove time. Your saucepan gets to be a saucepan again instead of a backup water-heating appliance.
If you had a stovetop kettle taking up cabinet space, clear that shelf and keep it clear. Do not fill it immediately with something else. You will find a better use for that space in step four.
Step 3: Consolidate Your Boiling Jobs Into One Appliance
The average small-kitchen cook uses boiling water for more tasks than they realize. Morning tea or coffee. Instant oatmeal. Pour-over or French press coffee. Ramen or instant noodles. Cup soups or instant broth. Softening dried herbs or mushrooms. Pre-warming a French press carafe. Each one of these used to involve either waiting for the stove or keeping the kettle perpetually half-full on a back burner. An electric kettle with auto shut-off handles all of them without your supervision.
The AZEUS 1500W brings 1.8 liters to a full boil in roughly four to five minutes depending on your starting water temperature. That is fast enough that you fill it, push the button, and walk away to do something else rather than standing at the stove watching for the first bubbles. The auto shut-off means you never come back to a boiled-dry element. For a tight kitchen where one distracted moment can mean a forgotten burner, that safety feature matters more than it sounds in a product description.
Once you have consolidated all your boiling jobs into the kettle, notice which stovetop tasks you have genuinely eliminated. For me it was two to three stove uses per day that no longer happened. That is not just a counter-space win. It is a cleanup win as well, because water heated on an electric kettle does not leave a ring on the glass-top stove.
Once I stopped using the back burner as a kettle parking spot, I got a full cooking surface back. I use all four burners now for the first time since I moved into this apartment.
Step 4: Choose the Right Permanent Home for the Kettle
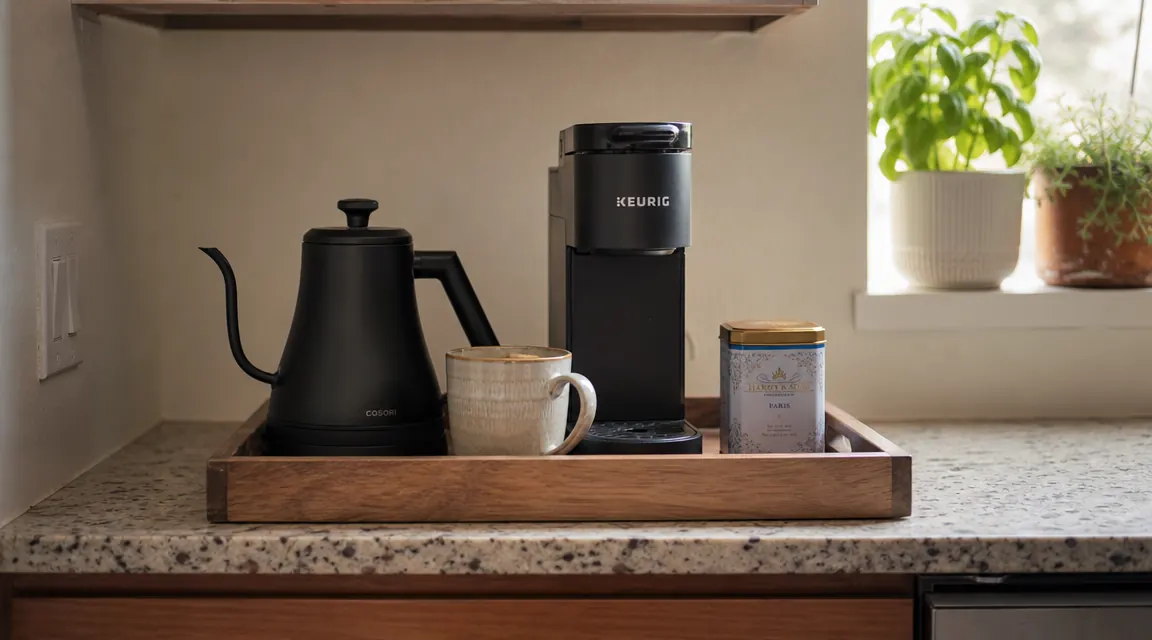
Placement is where a lot of people get this wrong. They set the kettle down wherever there is room and leave it there. That works, but you can do better. In a small kitchen, appliances earn counter space by being part of a logical zone. The kettle belongs in a beverage zone alongside your coffee maker, tea tins, and mugs. If those items are already loosely grouped on part of your counter, consolidate them deliberately.
A small wooden tray or cutting board makes an excellent anchor for a beverage zone. Put the kettle, one mug, and your tea tin on the tray. The tray does two things: it visually contains the zone so it does not spread, and it protects your counter from condensation. The AZEUS base plate swivels 360 degrees, which means you can lift the kettle off its base, pour, and set it back down at any angle. That flexibility lets you tuck the base close to the wall and still operate the kettle comfortably.
Consider whether a corner spot works for you. Corners are notoriously wasted in small kitchens because most appliances are rectangles that sit awkwardly at a 45-degree wall meeting. A round kettle base fits a corner better than almost anything else. If you have a dead corner that currently holds nothing or holds things you rarely use, that is your kettle's home.
Step 5: Wrap the Cord and Keep It There
Loose appliance cords are the single most common reason a small kitchen looks cluttered even when it is technically clean. The AZEUS base has a cord-storage groove on the underside that lets you wrap excess cord length neatly around the base plate. Measure from your outlet to your placement spot, wind the cord to just the right length, and tuck the rest underneath. The cord should run from the outlet to the kettle in a straight line with no loops or drapes.
If your outlet is set at an awkward height or is partially behind something, a 90-degree flat plug adapter can make a meaningful difference. It keeps the cord from sticking out at a right angle from the wall. They cost about four dollars and eliminate one of the most annoying small-kitchen cord problems.
One thing to avoid: do not leave the power cord looped over the top of the kettle handle or draped across adjacent appliances. It looks like a temporary solution and it stays that way. Wrap the cord properly once, and it will stay wrapped because the base holds it in place.
What Else Helps
A few things I discovered alongside the kettle swap that made a noticeable difference in my galley kitchen. First, a riser shelf above part of the counter. A simple two-tier bamboo shelf, about eight inches tall, lets you put the kettle on the lower level and a small tea tin or coffee supplies on the upper level. You are using vertical space that was previously just air. Second, a wall-mounted magnetic knife strip moved my knife block off the counter entirely, which freed up another nine inches. Third, I moved my dish drying rack from the counter to the sink drain board position. None of these changes are about the kettle directly, but the kettle swap is usually what prompts the rethink, and once you start looking at the counter with fresh eyes, the other moves follow naturally.
If you want a detailed look at how the AZEUS holds up over ten months of daily use, including the pour spout, the lid seal, and a minor complaint about the lid hinge, that review covers everything: AZEUS Electric Kettle Review: Ten Months of Fast Boils in a Compact Kitchen. If you are still deciding between the AZEUS and the Hamilton Beach kettle at a similar price point, the side-by-side comparison is here: AZEUS Electric Kettle vs Hamilton Beach Electric Kettle: Compact Boiling on a Budget.
The AZEUS 1500W is the kettle Sandra keeps on her counter after testing it for ten months in an 11-foot galley kitchen.
Boils 1.8 liters in under five minutes, auto shut-off so you can walk away, cord wraps neatly into the base, and the swivel base means it fits in corners other kettles cannot.
Amazon Check Today's Price on Amazon →