
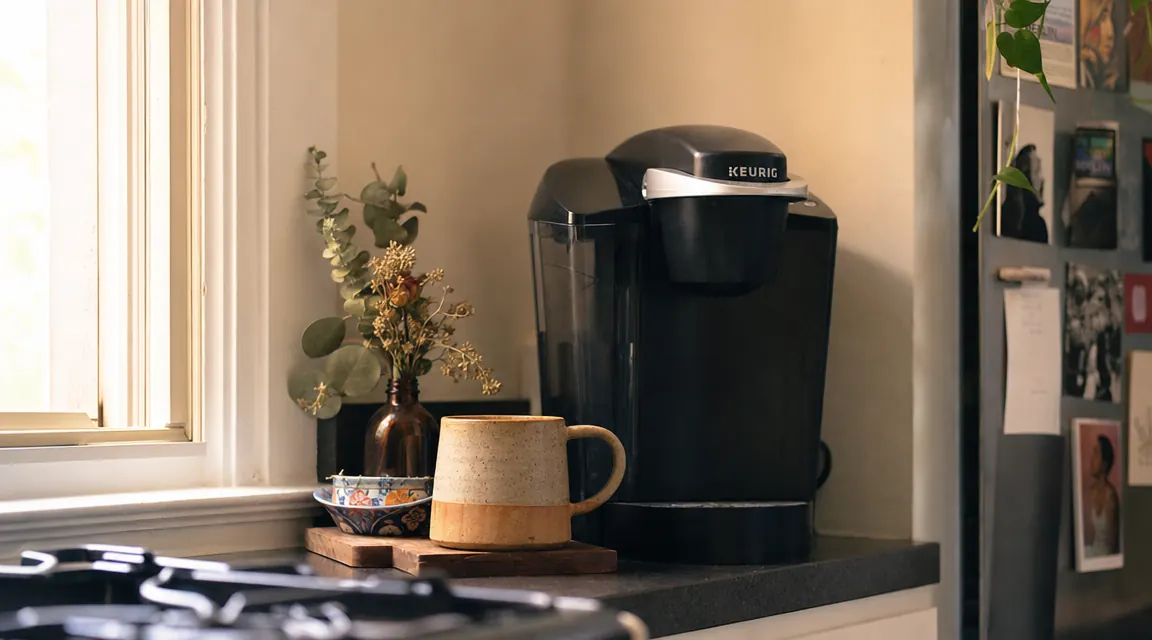
I spent the first year of living in my current apartment making K-Cup coffee that tasted like it came out of a cardboard box. The coffee was technically hot and technically brown, but that was about all I could say for it. I blamed the machine. Then I blamed the pods. Then I blamed the fact that I do not own a real drip coffee maker anymore, because the one I had was the size of a carry-on bag and there is simply no room for it on my kitchen counter. Eventually I realized the problem was mostly me, specifically the way I was using the machine and the pods I was picking up without thinking.
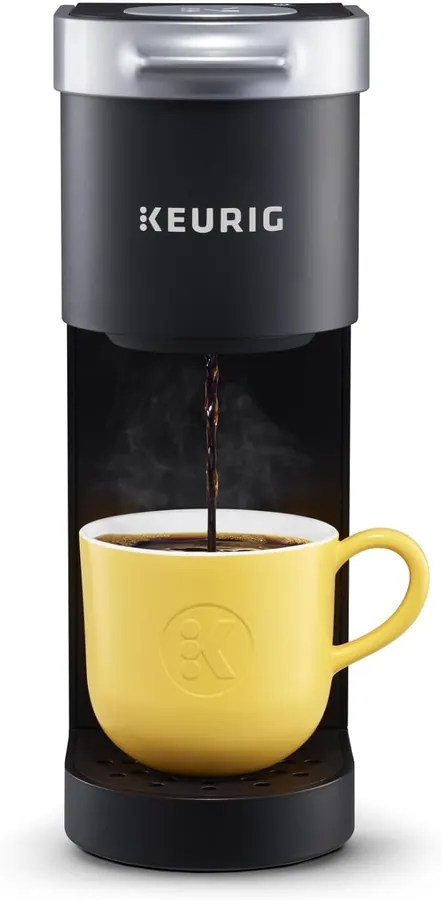
The Keurig K-Mini is a genuinely capable little machine. It is five inches wide, brews a single cup in under two minutes, and takes up almost no counter space, which in my 340-square-foot apartment is the single most important specification any appliance can have. But like most kitchen tools, it rewards the people who learn how to use it and delivers mediocre results for the people who just hit the button and hope for the best. This guide covers exactly what I changed to go from watery and weak to a cup I actually look forward to every morning. Five steps, none of them difficult, and the last one is mostly just remembering to do a thing four times a year.
The Keurig K-Mini fits where other coffee makers cannot even stand up
At five inches wide, it slides into counter gaps that full-size drip machines would laugh at. Over 107,000 Amazon reviewers have put this one through its paces. Check today's price and current availability below.
Amazon Check Today's Price on Amazon →Step 1: Set Your Brew Size to 8 Ounces, Not 10 or 12
This is the single biggest fix and almost nobody talks about it. The K-Mini brews anywhere from 6 to 12 ounces. The default that most people reach for is 10 or 12 ounces because a bigger cup sounds better. But a standard K-Cup pod contains the same amount of coffee grounds regardless of what brew size you pick. If you run 12 ounces of water through a pod designed for 8, you are diluting it by 50 percent. The math is not complicated, and the result is that sad, papery cup that gave single-serve coffee its bad reputation in the first place.
Switch to 8 ounces and the same pod produces a noticeably richer, more full-bodied cup. If you need more than 8 ounces in the morning, brew two separate cups rather than running one pod through a larger volume. You can also look for pods specifically labeled as Bold or Extra Bold, which use slightly more grounds to compensate for higher water volume, though I still prefer two 8-ounce cups over one 12-ounce diluted one. My rule: match the brew size to what the pod is designed for, not to how large your mug happens to be.
Step 2: Run a Rinse Brew Before Your First Cup of the Day
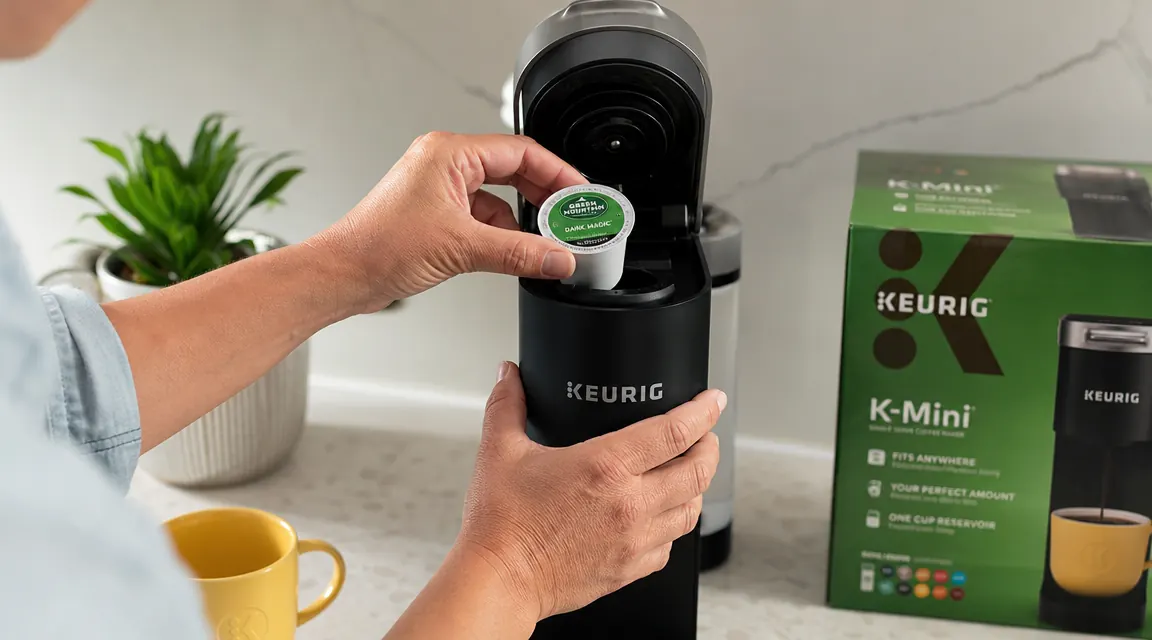
The K-Mini does not have a reservoir you fill once and leave. You fill it fresh for each cup, which is actually a nice feature for a small kitchen because there is no standing water sitting around growing things in a reservoir you forgot to empty. But it does mean the water line, pump, and internal tubing can sit dry or near-dry between uses. Running a quick rinse brew, meaning you put a mug under the spout with no pod in the machine and run just water through it, flushes any residual scale or off-tasting water out of the line before it ends up in your coffee.
I started doing this after I noticed my first cup of the day tasted slightly metallic compared to my second. One rinse cycle, maybe 30 seconds of your time, cleared it completely. You only need to do this if the machine has been sitting more than a day or if you live in an area with heavily mineral-laden tap water. Filtered water from a pitcher or faucet filter also helps here. The K-Mini does not have a built-in water filter, so unlike some higher-end Keurig models there is no cartridge to replace every two months. The quality of what you pour in is entirely up to you, which means using filtered or at least cold fresh tap water matters more than most people think.
Step 3: Choose Pods That Actually Have Flavor to Start With
Not all K-Cups are equal. The bargain pods from grocery store checkout lanes are often roasted light and ground fine specifically to look and smell appealing in the package, not to produce a strong cup. If you have been grabbing whatever is on sale, this is worth revisiting. A few pods that consistently hold up well at the 8-ounce brew size: Green Mountain Dark Magic, Death Wish Coffee K-Cups, Peet's Major Dickason's Blend, and Starbucks Sumatra. All of these are roasted dark enough that even at a full 8-ounce pull they still taste like real coffee.
If you are sensitive to caffeine but still want flavor, Newman's Own Organics Special Blend decaf is one of the better-tasting decaf pods available in the K-Cup format. The thing to look for on any pod is the roast level and whether the brand actually roasts their own beans or just re-labels commodity coffee. Darker roast, recognizable roaster, and you are most of the way there. Buying in variety packs is a good way to try six or eight different roasts before committing to a full box of anything you have not tasted yet.
The K-Mini did not change when I switched to 8 ounces and a better pod. My cup did. That is the whole lesson.
Step 4: Use a Reusable Pod for Full Control Over Grind and Roast
This is where things get genuinely good. A reusable K-Cup pod is a small stainless or plastic basket that sits in the machine exactly like a regular pod, except you fill it yourself with ground coffee of your choosing. They cost between four and twelve dollars, last for years, and open up every whole-bean coffee on the market to your K-Mini. I use the Keurig-branded My K-Cup Universal Reusable Filter because the fit is exact and there is no fiddling with adapters or foil lids.
The grind matters here. You want a medium-coarse grind for the K-Mini, roughly what you would use for a standard drip machine. Too fine and the grounds will compact and the machine will struggle to push water through, giving you a slow, thin, bitter result. Too coarse and the water moves through too fast without extracting enough flavor. I pre-grind a week's worth of beans at a time and keep them in a small airtight jar on the counter. With the reusable pod, I am paying about half what I was paying per cup with disposable pods, and the coffee is meaningfully better because I can source whatever beans I want from any roaster.
Step 5: Descale the Machine Every Three Months
Mineral deposits from tap water build up inside the machine over time. Keurig calls this scaling, and it affects both the taste of your coffee and the machine's ability to heat water to the right temperature. The K-Mini brews at around 192 degrees Fahrenheit, which is right at the lower edge of ideal extraction temperature. If scale is coating the heating element, you can end up brewing at 180 degrees or lower, and the coffee will taste flat and under-extracted no matter what pod or grind you use.
Descaling takes about 20 minutes and requires either Keurig's descaling solution or plain white vinegar diluted 1:1 with water. Pour it into the reservoir, run a brew cycle without a pod, repeat until the reservoir is empty, then run two or three clean water cycles to flush the vinegar taste out. Do this every three months if you use the machine daily, more often if your tap water is particularly hard. I wrote the date on a sticky note on the bottom of the machine so I stop forgetting. The difference in cup quality after a descale is noticeable every single time.
What Else Helps
A few smaller things that have improved my K-Mini coffee without any major changes to how I use the machine. First, pre-warming your mug. If you pour hot coffee into a cold ceramic mug, the mug pulls heat out of the liquid immediately and your coffee goes lukewarm faster than it should. I rinse my mug with hot tap water for 30 seconds before brewing, then dump it and brew directly into the warmed cup. It is one of those tiny habits that takes about ten seconds and makes a real difference on cold mornings.
Second, if you prefer a milk-based drink, the K-Mini brews strong enough at 6 ounces that you can add a couple of ounces of steamed or frothed milk without diluting the coffee flavor away. A handheld frother costs about ten dollars and makes the whole setup feel significantly more complete. I have one stuck magnetically to the side of my refrigerator, which is two feet from the K-Mini. Third, cord storage. The K-Mini has a built-in cord storage groove on the back that lets you shorten the cord so it does not pool on the counter. This sounds minor until you are working with four inches of counter between the machine and the wall. Take two minutes to route the cord through the groove and you recover a small but real amount of usable workspace.
Fourth, think about where the machine sits in relation to the sink. The K-Mini has no reservoir, so you are filling it from the tap every single cup. If it is sitting on the far end of the counter from your sink, you will be carrying a filled machine or a filled cup of water across the kitchen every morning. I keep mine within arm's reach of the faucet. A small detail, but over the course of 365 mornings it is the kind of thing that either makes a routine feel easy or gradually annoying.
If you want a longer look at how the K-Mini holds up over daily use, I covered six months of morning-by-morning experience in my full Keurig K-Mini long-term review. And if you are still deciding between the K-Mini and another compact option, my K-Mini vs Hamilton Beach single-serve comparison breaks down the footprint and brew-speed differences side by side so you can make the right call for your counter.
Ready to stop settling for weak single-serve coffee? The K-Mini is a five-inch solution.
Apply the five steps above and the Keurig K-Mini punches well above its counter footprint. Rated 4.3 stars across more than 107,000 reviews. Check today's price and available colors on Amazon.
Amazon Check Today's Price on Amazon →